BUILDING A REAR CABIN BULKHEAD FOR THE MURPHY REBEL
It had always been my intent to fabricate a rear cabin bulkhead for my
Rebel project. I think such a bulkhead helps to define, and give a more
‘finished’ look to the cabin area.I wanted it to be lightweight, yet
rigid enough to overcome any ‘oil canning’ tendencies, especially if
the aircraft were ever flown with the window(s) open.
I have seen a few photographs of Rebels with such a bulkhead, but I’ve
not found any real details describing the construction. I do remember
seeing a Rebel photograph on one website that had a bulkhead built from
a piece of plywood. I’m sure it will be rigid, but it’s also got to be
heavy. Not my style.
Some builder’s have described using the plastic board that is commonly
used in real estate yard signs. The material is two sided with a
corrugated center helping to give it some rigidity. That seemed like a
lightweight alternative but in the end I decided to go with the same
material that I had been working with for the last 6½ years in building
the Rebel…6061-T6 Aluminum sheet. I purchased two pieces of .016” X 2
ft. X 4 ft for the project.
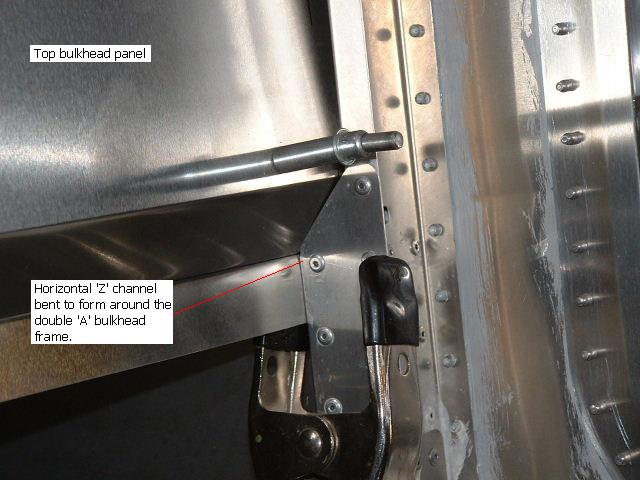
I began the fabrication by bending two lengths of .016 into a channel
resembling a ‘relaxed Z’ shape. These are shaped to form around the
double bulkhead ‘A’ flanges and will provide some horizontal rigidity
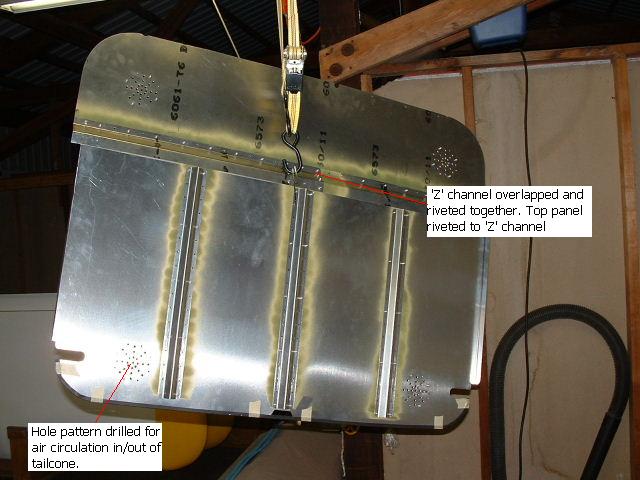
to the bulkhead. My bending brake cannot handle the length required to
make this channel one piece, so I had to make two shorter lengths. They
are overlapped several inches at the center and will be riveted
together.
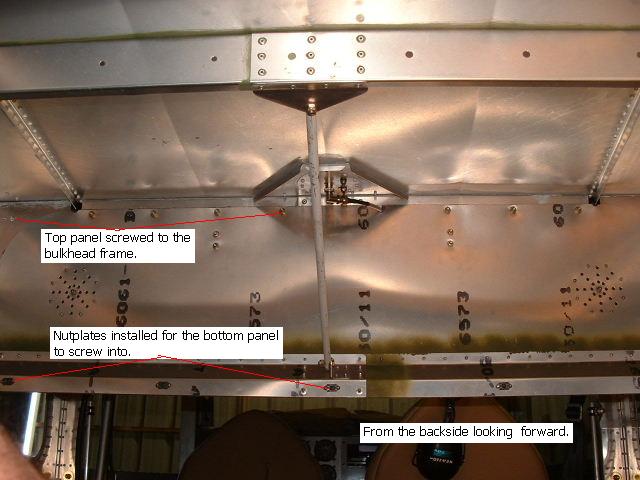
The upper panel of this bulkhead is a flat piece of .016 shaped to
overlap the backside of the bulkhead ‘A’ frame by approximately 1 inch.
It will be riveted to the ‘Z’ channel along the top flange of the
channel. This panel will be attached to top bulkhead ‘A’ frame using
#10 screws through the existing tooling holes in the bulkhead.
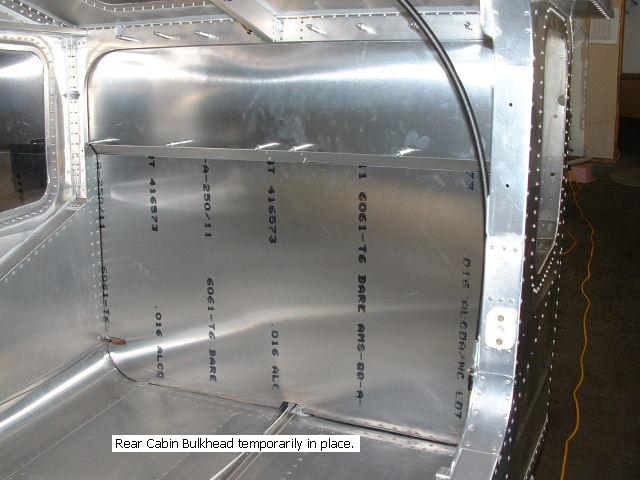
From the photos you can get an idea how the ‘relaxed Z’ channel was
fabricated to form around the flange of the double bulkhead ‘A’ frame.
In some Rebels this area of the double bulkhead may be shaped
differently, but the idea would be the same.
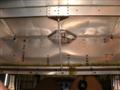
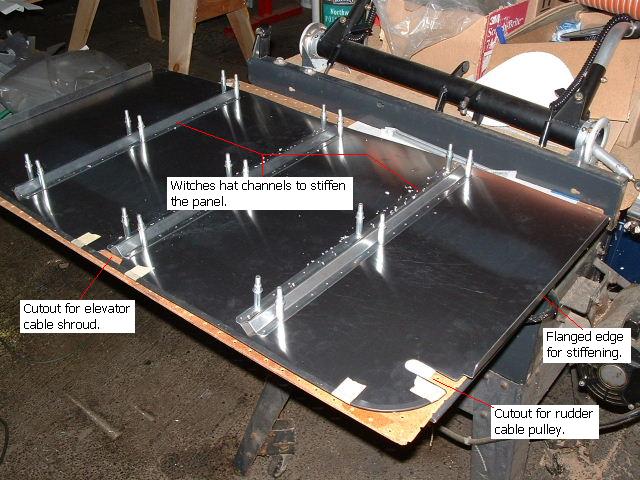
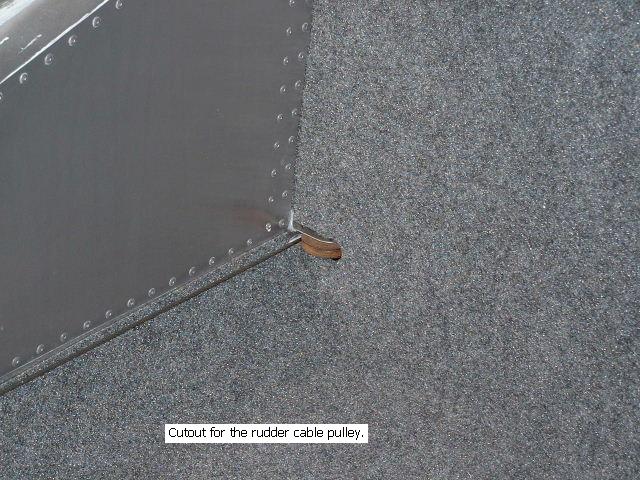
In the lower corners there are relief cutouts to clear the rudder cable
pulleys. There is also a cutout at the bottom edge to clear the
elevator cable shroud. This panel was also cut 1-inch oversize to
overlap the left and right bulkhead ‘A’ frames. This lower panel will
be attached to the lower ‘Z’ channel flange using #10 nut plates and
screws.
To give additional rigidity to the lower panel I fabricated several
lengths of ‘witches hat’ channels and riveted them to the backside of
the lower panel. I also bent up the left and right edges to a 90°
flange, 5/8 inches wide for rigidity. This still leaves a 3/8-inch
overlap of the bulkhead ‘A’ frame on each side.
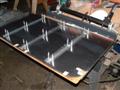
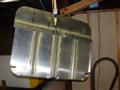
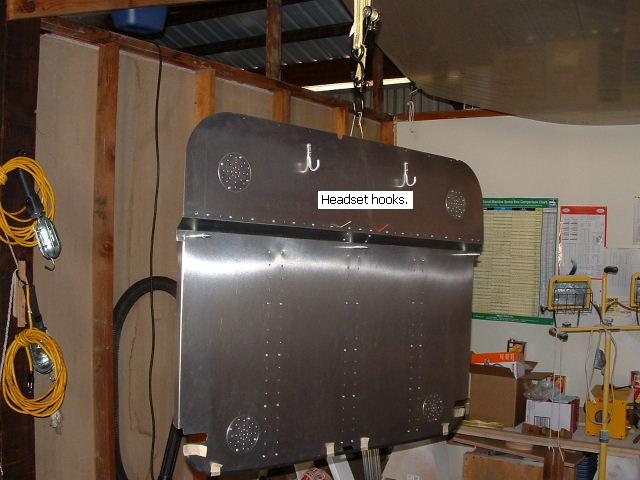
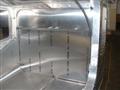
The following photos show the top panel permanently riveted to the top
flange of the ‘Z’ channel. It also shows the bottom panel screwed to
the bottom flange of the channel. With the tail-cone blocked off by
this bulkhead, I felt it would be important to allow air to circulate
into the rear fuselage. I drilled circular, multiple hole patterns into
each of the top and bottom corners as vents to accommodate air
circulation into the rear.
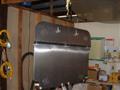
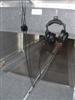
I have my headset jacks mounted in the overhead structure above and
behind the seats. I wanted to have hooks mounted somewhere behind the
seats to hang my headsets. Headset hooks were fabricated from ¼” fuel
line tubing, flattened, and screwed through the bulkhead. The top of
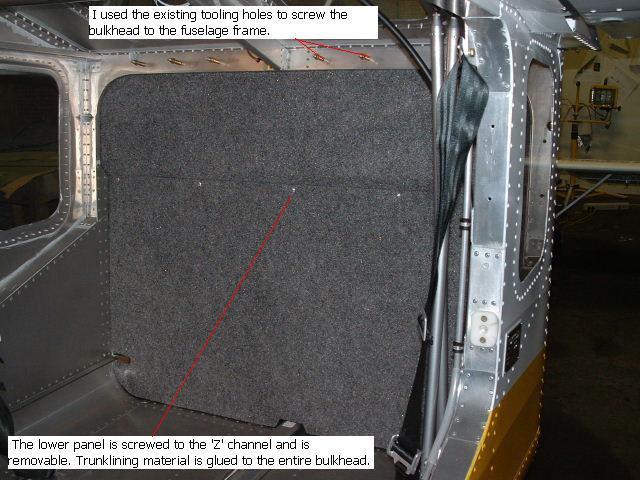
the cabin bulkhead is bolted to the bulkhead frame using the existing
tooling holes in the frame.
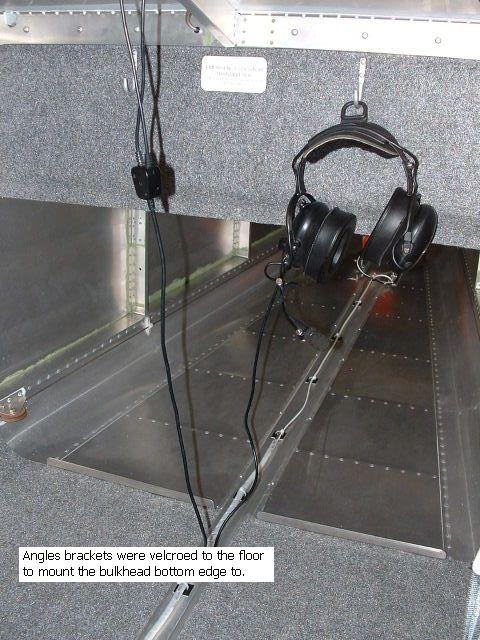
Two lengths of aluminum angle were made and velcroed to the floor. I
used the heavy-duty type Velcro. The bottom edge of the lower cabin
bulkhead will be screwed to this angle.
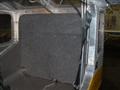
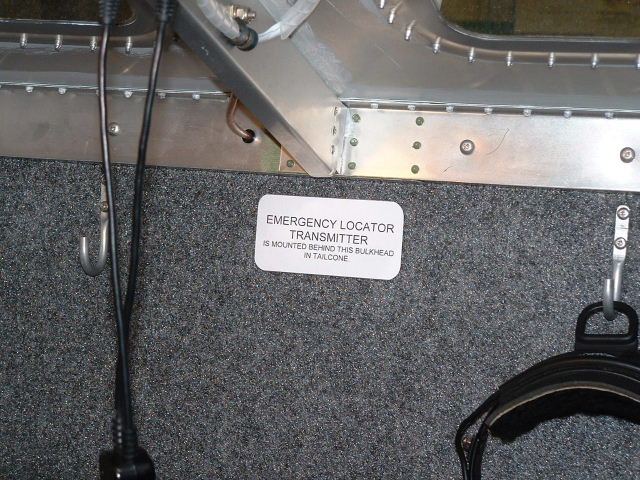
The completed bulkhead, in place. Automotive trunk lining material was
glued to the bulkhead. Standard Velcro really sticks to the trunk
lining fabric. You only need to use one side of the Velcro tape, the
side that has the rigid ‘teeth’. The placard in the photo is a small
aluminum plate with adhesive backed Velcro on the back. It holds
solidly to the bulkhead with out the need for the mating piece of
Velcro.
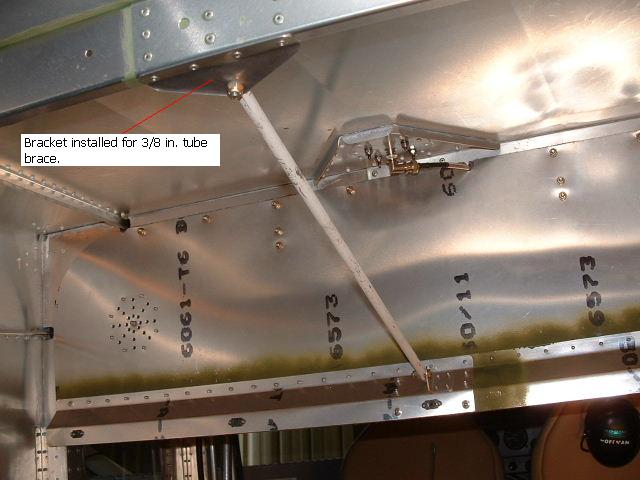
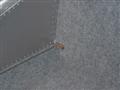
The only additional holes created in the fuselage for this
installation, were the rivet holes needed to attach the rear bracket
for the tube brace, made from a piece of 3/8 inch fuel line.
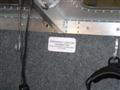

The completed bulkhead, as seen in these photos and with the trunk
lining material attached, weighs less than four pounds. The trunk
lining material is pretty lightweight stuff. The weight was taken using
a digital fish scale.
The airplane is now flying and this bulkhead seems to work very well.
In flight, I do not notice any noise(s) attributable to this bulkhead
from vibration, oil-canning, etc. I have not flown the aircraft without
the bulkhead, but I have taxied on asphalt without it. I can say that
there is noticeably less noise from the tailcone (megaphone) while
taxiing with this bulkhead in place.
R. Hoffman
The End